Ever since I started gardening, I didn’t have any preconceptions on what was difficult or what was easy. I simply tried different techniques, kept notes as to what worked & what didn’t, and learned vegetable growing that way. When I chose what vegetables I wanted to grow, I bought seeds because they were cheaper, and because I could find varieties I couldn’t find at nurseries as seedlings. Once again, I tried out different techniques and with a help of a garden journal, eventually worked out the best sowing and harvesting times for my climate. But now I’m in a new climate which will hopefully work in my favour as the growing season should be longer, but Victoria comes with its own set of challenges – possums, fruit fly, foxes, rainbow lorikeets, fruitbats, all potentially crop-destroying pests that are uncommon or non-existent in Tasmania. So thus begins the experimentation again – and since I have this online garden journal, you can all learn along with me!
So, back to seeds. When I first started buying seeds, I admit I struggled to get them to germinate & get them to the seedling size that you see in nurseries. I tried several things – sowing them in punnets, sowing them in pots, regular potting mix, seedling mix, having them inside, having them outside etc etc etc…. After all that I ditched the punnets & potting mix altogether and realised I got much better results sowing them directly where they are going to grow. The larger the area of soil, the easier it is to control the moisture levels, and depending on the time of year, it can be easier to keep the seeds at a consistent temperature. Direct sowing has meant I could grow seeds that have a difficult reputation, like parsnips, cauliflower, & tomatoes.
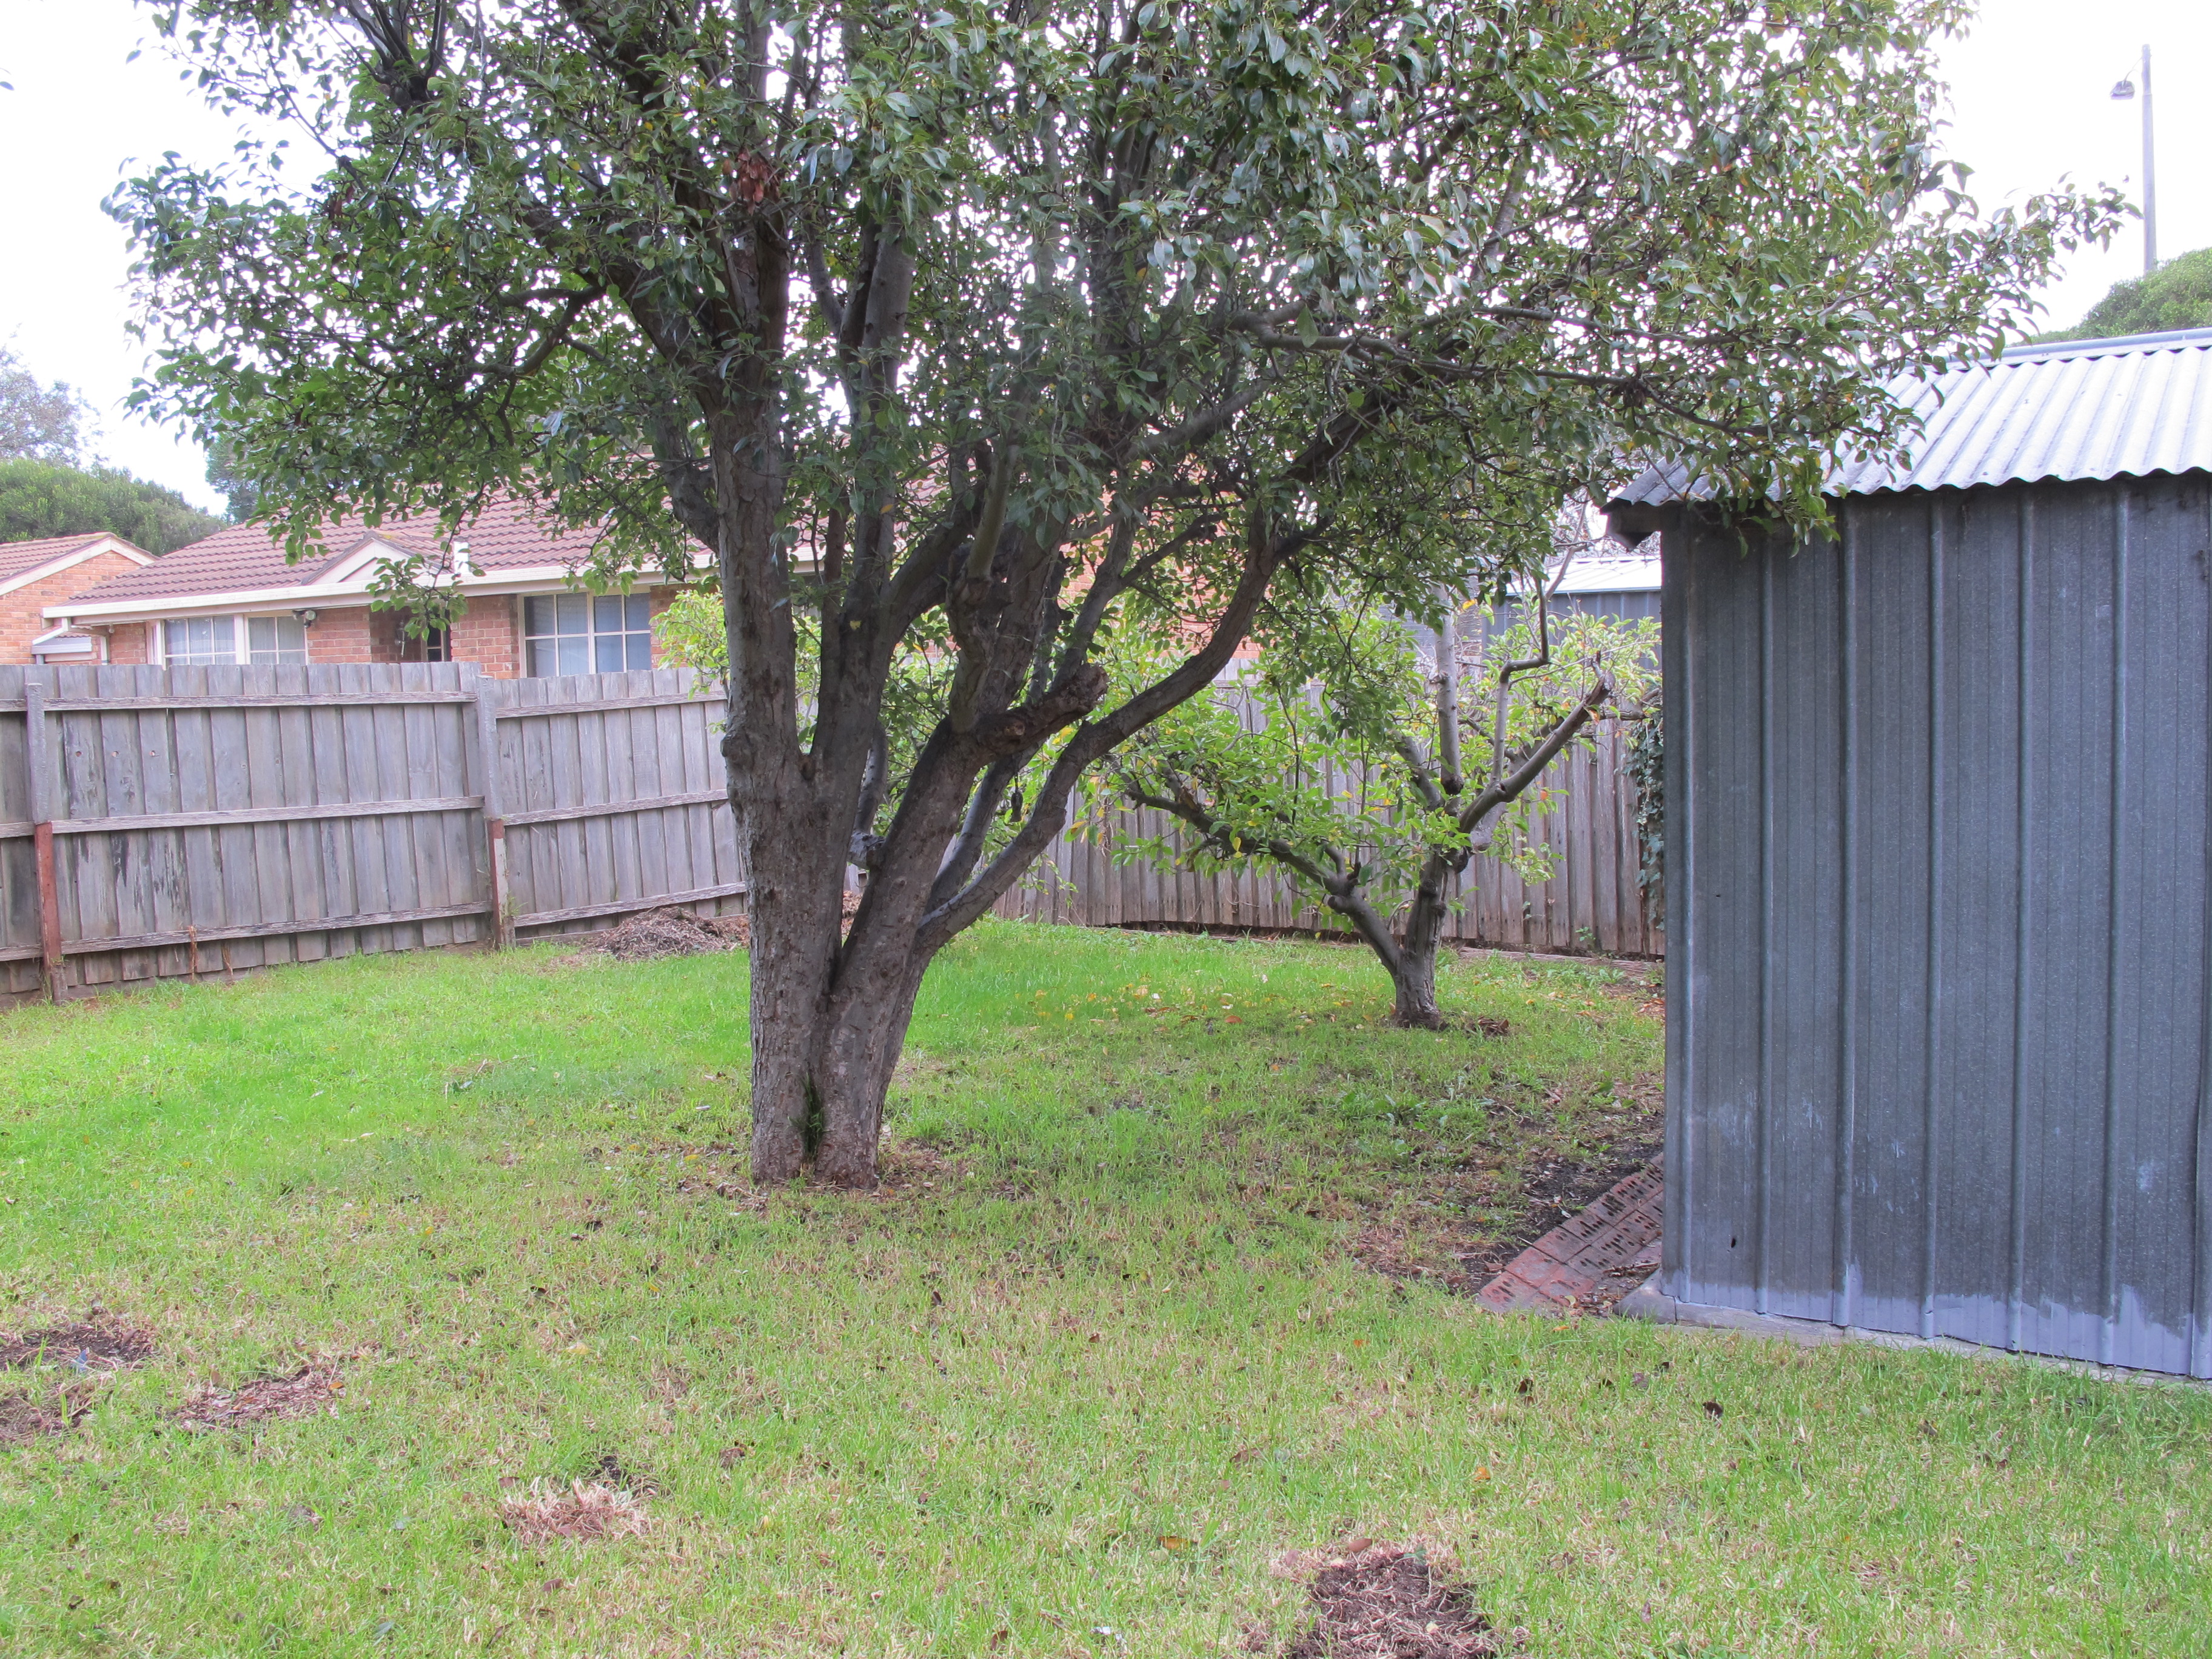
So, the first step is to make a garden, which is what I’ve been doing for the last few weeks. Find some men who will help you:

Since I made my garden beds where there was previously lawn, after the men broke up the soil (thanks Dad & Adrian!) we sieved the soil so there was no grass roots, stones, or other things (we found glass, tent pegs, batteries & broken plates!) to get in the way of my crops. This process also aerates the soil making it the ideal environment for plant roots, earthworms, and good microbes.
Once you have removed all the bits, you have something like this:

Take a plank of wood (you can see the one I use in the photos) and use it to make the final smoothing of the soil surface:

Then, give the whole bed a good soaking of water. I know I have well draining soil at the moment, but I will have to build up the organic matter in the future for better water retention in the summer months.
Next, take some kind of thin pole or slat to make your trenches for your seeds. I have a bunch of old blind slats that are perfect for this purpose. Simply push the soil apart with the slat a few millimeters, the depth will depend on what you’re sowing, and your seed packet should have a guide for this. Additionally, the crops I sowed today only need about 20cm between the rows, but some veggies need a lot more – full sized cauliflowers for example will need about 60cm to themselves.

Sowing in rows makes sense for several reasons – number one because its easiest to sprinkle seeds in a straight line, and another reason is when all the seeds sprout in a line, any sprouts that aren’t in line can be identified as weed seeds & are safe to pull out.
And now for the vital ingredient, the seeds! Today I sowed super-easy radishes:

And easy but slower to mature carrots:

The radishes are easy to sow, about 10cm apart. The carrots though, because the seeds are so fine, are hard to get even. Sow them a little thicker than you need & thin the crop in 6-8 weeks, leaving the strongest to grow on.
When they are all in the ground, pinch the soil with your fingers to close the trenches & give the whole lot a good watering.
Now that they are in, you need to protect the seeds from the cold/heat, weather, animals, snails, and most importantly from drying out. I use various methods for doing this, including old pieces of bubblewrap, hessian bags, clear plastic, and today I used rectangular clear plastic domes that are sold as “propagating domes” at hardware shops. 4 of these domes covered these seeds nicely, and I held them in place using thick wire bent into mini tent pegs.
After that the waiting game begins…. The radishes will only take about a week to sprout, the carrots can take up to 3 weeks. This is why a protective layer is so important, because any drying during this time will quickly kill any newly germinated seeds.
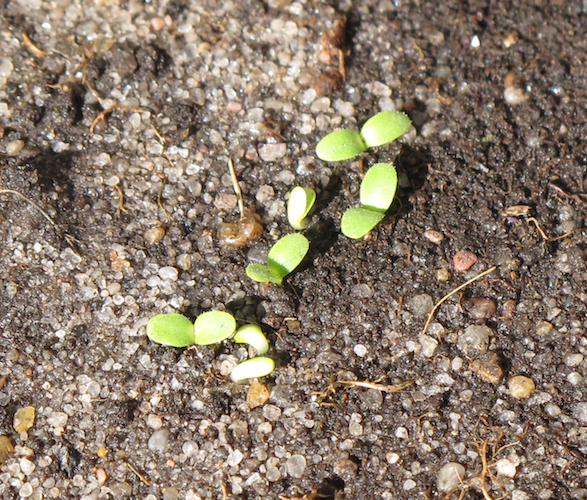
That’s all for now – the snapdragons are getting bigger, spring doesn’t seem so far away!


")

